How to Install an Outdoor Security Camera Step-by-Step?
Keeping your home safe is very important. Installing an Outdoor Security Camera is a great way to do this. It helps keep intruders away and can prove useful if something happens.
Home security is a big concern today. I’m here to help you set up an outdoor security camera. This guide is for those who like to do things themselves.
Key Takeaways

Understanding Outdoor Security Camera Basics
Securing your outdoor space starts with knowing the basics of outdoor security cameras. I’ll show you the different types, the pros and cons of wired vs. wireless, and what to look for in a camera.
Types of Outdoor Security Cameras
Outdoor security cameras vary in type, each for a specific use. Here are a few:

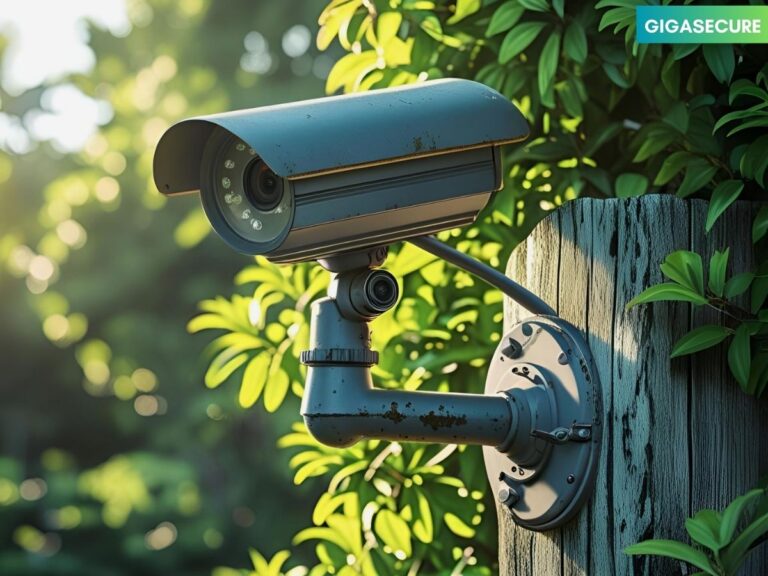
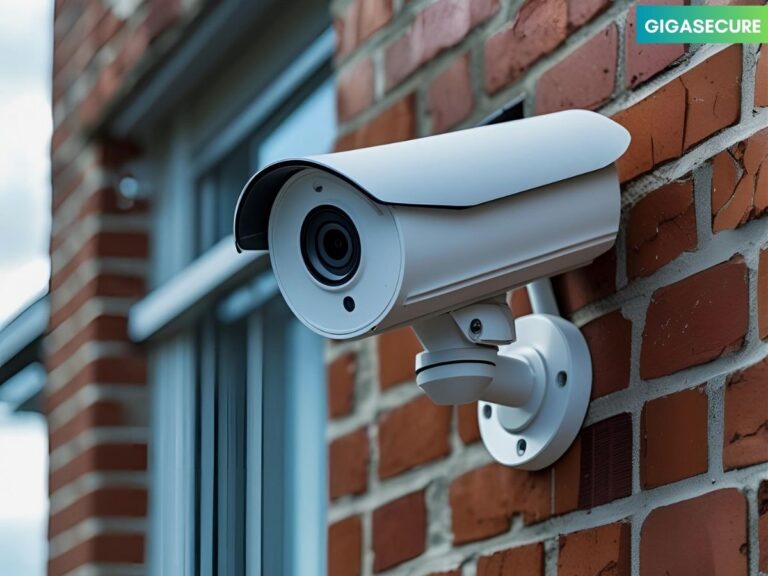
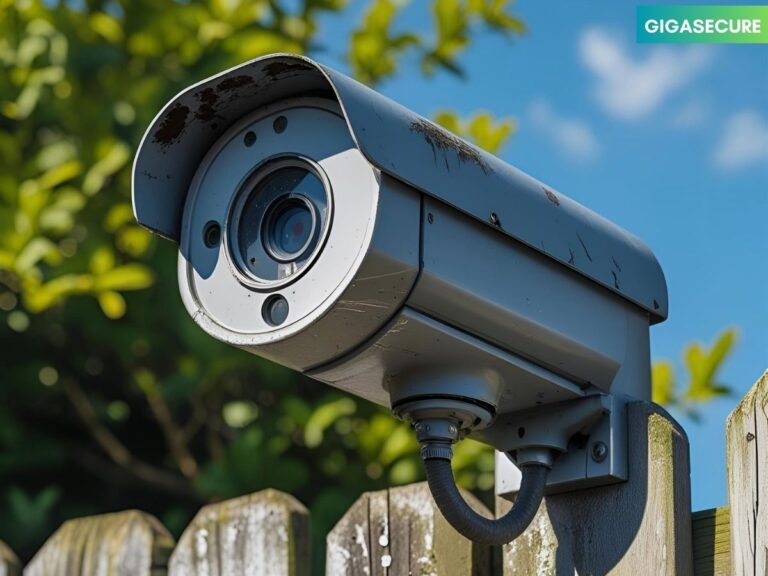
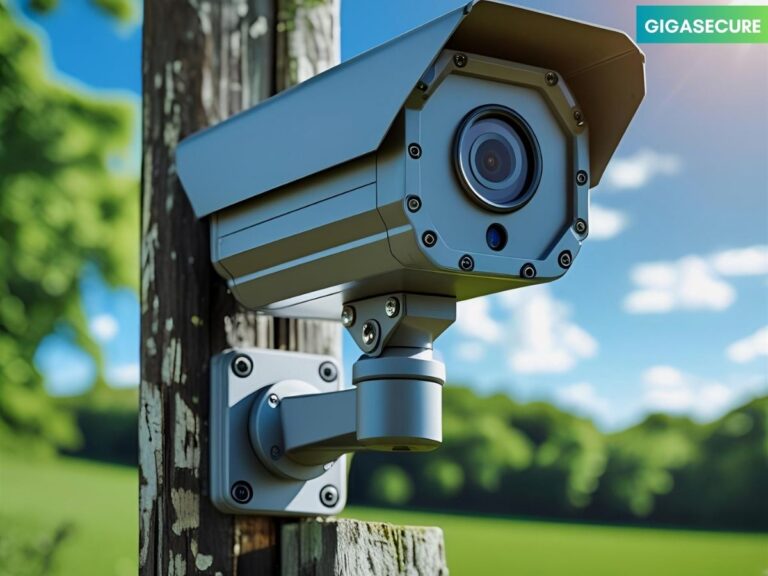
- Bullet cameras: Sleek and cylindrical, they’re great for long-range views.
- Dome cameras: Their design makes them tough against tampering, perfect for high-risk areas.
- PTZ (Pan-Tilt-Zoom) cameras: These can move and zoom, covering large areas effectively.
A security expert advises, “Choose a camera that fits your security needs and property layout.”
“The right camera can make all the difference in your home’s security.”
Wired vs. Wireless Options
Deciding between wired and wireless cameras is key. Wired cameras offer a solid connection but are harder to install. Wireless cameras are easier to set up but might face signal issues.

Key Features to Consider
When picking a camera, focus on these features:
- Resolution: Choose cameras with at least 1080p for sharp video.
- Night vision: For round-the-clock surveillance, look for infrared or night vision.
- Weather resistance: Make sure the camera can handle different weather conditions.
Understanding these basics and your needs will help you pick the best camera for your property.
Planning Your Security Camera Installation
Effective outdoor security camera installation starts with careful planning. This step is key to making sure your camera system works well and efficiently.
Determining Optimal Camera Placement
To get the most out of your outdoor security camera, you need to pick the best spot. Think about the areas you want to watch, like entry points, driveways, or backyards. Key areas to focus on include:
- Main entrances and exits
- Blind spots around the property
- Areas with valuable assets or sensitive information

Identifying Power Source Options
Choosing the right power source for your cameras is also important. You can go for wired or wireless options. Wired cameras need a direct power connection, while wireless ones can run on batteries or solar panels.
Mapping Out Wiring Routes
If you choose a wired system, planning the wiring route is vital. You need to find the most hidden and safe path for your cables. This avoids damage and keeps them out of intruders’ reach.
Weatherproofing Considerations
Outdoor security cameras must be weatherproof to handle different weather conditions. Look for cameras with an IP65 or higher rating.
This means they’re dust-tight and can handle water jets. Good weatherproofing makes your camera system last longer and work better.
By planning your security camera installation well, you can set up a strong and effective surveillance system. This will greatly improve your home’s security.
Essential Tools and Materials Needed
To mount an outdoor camera smoothly, you need the right tools and materials. Having everything ready before you start saves time and avoids frustration.
Required Tools Checklist
First, gather basic tools. You’ll need:
- A drill with various drill bits
- A screwdriver set (both flathead and Phillips)
- Pliers and wire cutters
- A level to ensure proper camera alignment
- A ladder or step stool for reaching high mounting locations
Having a friend or family member help, when working at heights, is a good idea.
Materials Shopping List
You’ll also need specific materials for the job. These include:
- The outdoor security camera and its mounting bracket
- Power cables and any necessary connectors
- Weatherproof housing or sealant for protecting cables and connections
- Mounting screws and anchors suitable for your exterior wall type

As
“A well-prepared installer is a successful installer.”
, having the right tools and materials is key for a successful outdoor security camera installation.
Safety Precautions Before Installation
When setting up an outdoor security camera system, safety comes first. Before starting, it’s key to know the safety steps to avoid risks.
Electrical Safety Guidelines
Electrical safety is critical when installing outdoor security cameras. Always follow electrical safety rules to prevent shocks or short circuits.
Turn off the power before you start and use a non-contact voltage tester to check if it’s off. Also, make sure all electrical connections are tight and weatherproof.
Ladder and Height Safety
Working at heights? Ladder safety is a must. Always keep three points of contact with the ladder, like two hands and one foot, or two feet and one hand.
Make sure the ladder is stable and on a firm, level surface. Consider having someone hold the ladder for extra safety. Be careful not to overreach, as it can make you lose your balance.

How to Install an Outdoor Security Camera Step-by-Step
This tutorial will guide you through installing an outdoor security camera. It’s a simple way to protect your home. Follow these steps for a successful installation.
Step1: Preparing the Mounting Surface
Start by preparing the surface for your camera. Clean the area to ensure a good fit. Remove any debris or old adhesive.
Use a level to check if the surface is even. If not, adjust it to be perfectly level.
Step2: Securing the Camera Mount
Now, secure the camera mount. Choose the right screws or anchors for your wall. Drill pilot holes if needed, then screw the mount in place.

Step3: Attaching the Camera to the Mount
Attach the camera to the mount. Align the camera as desired and tighten the mount.
Ensure the camera is securely attached. It should not be easily tampered with or dislodged.
Step4: Connecting Power and Data Cables
Connect the power and data cables. Route the cables neatly to avoid damage. Use weatherproofing to protect the connections.
Here’s a simple table to summarize the cable connections:
| Cable Type | Connection Point | Notes |
|---|---|---|
| Power Cable | Power Source (Outlet or Transformer) | Ensure weatherproof connection |
| Data Cable | Router or Network Switch | Securely connect to avoid data loss |
By following these steps, you can successfully install your outdoor security camera. This will enhance your home’s security.
Running and Concealing Cables Properly
It’s important to run and hide cables well for a neat outdoor security camera setup. A good cabling system looks better and keeps cables safe from damage.
When securing your property with outdoor cameras, use the right cable installation methods.
Techniques for Hiding Exterior Cables
Keeping exterior cables hidden is key to your property’s look. You can use:
- Using cable conduits or tubing to encase cables
- Burying cables underground, where feasible
- Running cables along existing structures like fences or walls
- Using cable clips or clamps to secure cables to surfaces
A security expert says, “Cable management is often overlooked but is a critical aspect of a successful security camera installation.”
“A well-planned cabling system can significantly reduce installation time and improve overall system reliability.”
Drilling Through Walls Safely
Drilling through walls is needed to run cables. To do it safely, follow these steps:
| Precaution | Description |
|---|---|
| Check for hidden wiring | Use a wire detector to avoid drilling into existing electrical cables |
| Use the right drill bit | Select a drill bit suitable for the type of wall you’re drilling through |
| Drill slowly and carefully | Avoid applying too much pressure, which can cause the drill to slip |
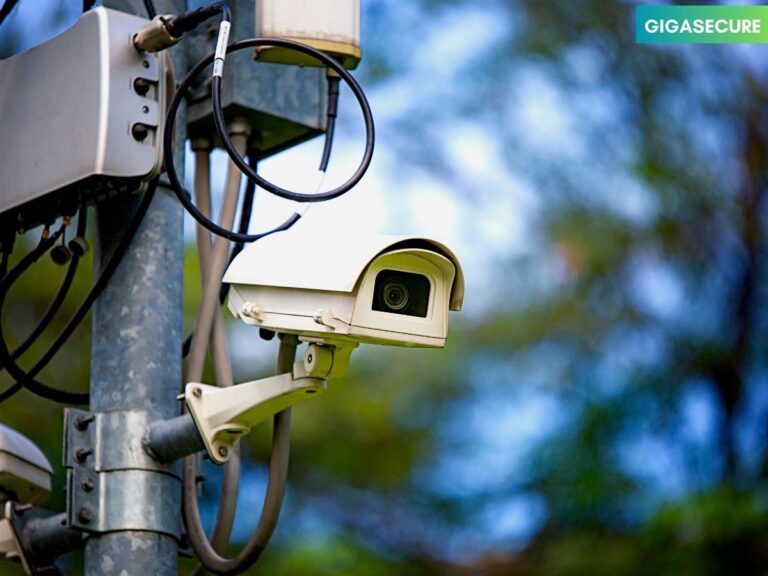
As shown in the image below, good cable management improves your outdoor security camera system’s look and function.

By using these methods and tips, you can install your outdoor security cameras professionally and securely. This will boost your property’s safety and security.
Connecting Your Camera to Power
Setting up an outdoor camera yourself requires the right power connection. You have several options to power your camera, each with its own advantages and disadvantages.
Standard Outlet Connection Methods
Connecting your camera to a standard outlet is a simple and reliable way. You’ll need:
- A weather-resistant outdoor outlet
- An outdoor-rated cable
- An outlet not controlled by a switch
Reolink advises using a dedicated outdoor outlet. This reduces risks of electrical shock or fire.
“The key to a safe outdoor camera installation is using the right materials and following safety guidelines.”
Solar and Battery Power Options
Solar or battery-powered cameras are great for places without easy outlet access. Solar cameras use sunlight, while battery cameras don’t need wires.
| Power Option | Pros | Cons |
|---|---|---|
| Solar Power | Renewable energy, cost-effective | Needs sunlight, may require big panels |
| Battery Power | Easy to install, no wiring | Batteries need regular charging or replacement |
Think about sunlight and maintenance when picking between solar and battery power.

Setting Up the Camera Software
Now that your outdoor security camera is installed, it’s time to set up the software. This step is key for your camera to work well and keep your home safe.
Connecting to Your Home Network
To begin, connect your camera to your home network. Choose your network from a list and enter your Wi-Fi password. Make sure your network is secure to keep your camera safe.
Mobile App Configuration
Most cameras come with a mobile app for remote monitoring. Download the app, create an account if needed, and follow the instructions to link your camera. Turn on push notifications to get alerts when motion is detected.

Setting Up Motion Detection Zones
You can set up motion detection zones in the camera’s software. This helps focus on important areas like your front door or backyard. Adjust the sensitivity to fit your environment.
Cloud Storage vs. Local Storage Options
You must choose between cloud storage and local storage for your footage. Cloud storage gives you remote access and automatic backups. Local storage lets you control your data more.
“Cloud storage is convenient, but make sure you know the costs and data security issues.”
Think about what you need and pick the best option for you.
By following these steps, you’ll get your outdoor security camera working. Remember to update your camera’s software regularly. This keeps it secure and up-to-date.
Testing and Troubleshooting Your Security Camera
Setting up your security camera is just the start. It’s also key to test it well. This ensures your home stays safe. Here, I’ll show you how to test and fix your security camera.
Checking Video Quality and Angle
First, check if your camera’s video is clear and covers the right area. You can see this on your phone or computer. If not, adjust the camera’s angle for the best view.

Testing Night Vision Capabilities
Test your camera’s night vision at night. It should show a clear image even in the dark. A study found night vision is vital for outdoor cameras to work all day and night.
“Night vision is not just a feature, it’s a necessity for effective outdoor security cameras,”
an expert says.
Common Installation Problems and Solutions
You might face issues like poor video, wrong angle, or connection problems. Here’s how to fix them:
- Make sure the camera’s power is on and connected right.
- Adjust the camera’s angle for the best view.
- Update the camera’s software to the newest version.
- Try restarting the camera to see if the problem goes away.
By doing these steps, you can fix common problems. This makes sure your outdoor security camera works well.
Smart Home Integration and Remote Monitoring
Enhancing my outdoor security camera’s functionality is key. I focus on integrating it with my smart home system. This makes the camera more effective and my home security better.

Connecting to Voice Assistants
First, I connect my camera to a voice assistant like Amazon Alexa or Google Assistant. This lets me control the camera with voice commands. It's easier to adjust settings or watch live footage.
The connection process involves linking my camera’s account to the voice assistant app. Then, I follow the prompts to finish the setup.
Setting Up Remote Viewing
Remote viewing is essential for keeping an eye on my property when I’m away. I download the camera’s mobile app and log in with my details. The app lets me watch live footage, review recorded videos, and change camera settings from anywhere.
Security Notifications and Alerts
Integrating my camera with my smart home system offers great benefits. I can get security notifications and alerts. The camera sends me alerts when it spots motion or detects a person.
This feature is super useful for staying updated on security threats in real-time.
FAQ Of How to Install an Outdoor Security Camera Step-by-Step
What are the most common types of outdoor security cameras?
The most common types include bullet cameras, dome cameras, and PTZ (pan-tilt-zoom) cameras. Each has its own features and benefits.
How do I determine the best placement for my outdoor security cameras?
Think about the areas you want to watch, like entrances and windows. Place cameras to get clear footage.
Can I install outdoor security cameras myself, or do I need professional help?
You can install them yourself, but professional help is wise for wiring and local rules.
What are the benefits of using a wired outdoor security camera system?
Wired systems have a stable connection and better video quality. They’re reliable for outdoor use.
How do I ensure my outdoor security cameras are weatherproof?
Look for cameras with an IP65 or higher rating. This means they’re dust and water resistant. Use weatherproof housings for extra protection.
Can I view my outdoor security cameras remotely?
Yes, most cameras have mobile apps. You can watch live footage, get alerts, and adjust settings from anywhere.
What are the differences between cloud storage and local storage for outdoor security cameras?
Cloud storage lets you access your footage from anywhere. Local storage gives you more control and can save money over time.
How do I troubleshoot common issues with my outdoor security camera?
First, check the power and network connections. Then, update the firmware. Look in the user manual or contact the manufacturer for help.
Conclusion
By following the steps in this guide, you can set up an outdoor security camera. This makes your property safer. It also gives you peace of mind and deters intruders.
When installing, think about where to place your camera. Make sure it’s weatherproof and set up the camera software right. These steps help your camera work well and capture clear images.
Once your camera is ready, you can watch your property from anywhere. You’ll also get alerts when something happens.
This is a big step in keeping your property safe. So, start setting up your outdoor security camera today.