How to Set Up Your Google Nest Thermostat: A Step-by-Step Guide?
Google Nest thermostats are smart devices that manage your home temperatures easily and energy-efficient.
It connects to your air conditioner system smartly handles temperature fluctuations and maintains a good environment inside your home.
At first time you may get confused about the installation process of the Google Nest thermostat.
This guide will walk you through the setup process, from unboxing your thermostat to solving potential beginner issues.
Key Takeaway
Expert Guide
How to Set Up Your Google Nest Thermostat
Here are the simple step-by-step installation processes:
1. Unboxing and Preparing for Installation
You’ll Need:
- Google Nest thermostat
- Screwdriver (included in the box)
- A stable Wi-Fi network
- Google Home app on your smartphone
Steps:
- Unbox your Nest thermostat and check that all components are included, such as the base, display, screws, and installation guide.
- Turn off the power to your existing thermostat at the circuit breaker to avoid electrical hazards.
- Remove your old thermostat, take note of the wiring configuration or take a picture for reference.
2. Installing Your Google Nest Thermostat

Related Article: Top 10 Smart Home Brands: The Ultimate Guide for 2024
- Mark the wall with the included trim plate if you need to cover old marks or holes.
- Attach the Nest thermostat base to the wall using the provided screws.

- Connect the wires to their respective terminals on the Nest base (labeled by color or function, like Y, G, W, etc.). Make sure wires are firmly connected, as loose wiring can cause setup issues.
- Snap the display onto the base securely.
- Remove the battery tap from the back of the display to power the Nest.

- Turn the power back on at the circuit breaker.
3. Setting Up the Google Home App
- Download the Google Home app from the App Store or Google Play Store.
- Open the app and log into your Google account.
- Tap the “+” icon to add a new device.
- Select “Set up device” and choose “New devices.”

- Follow the on-screen prompts to select your home and search for your Nest thermostat.
- Scan the QR code on the back of your thermostat display or enter the setup key manually.

Related Article: Blink Vs Nest Vs Ring Doorbell: Which One Should You Get?
4. Connecting to Wi-Fi
- When prompted, select your Wi-Fi network and enter the password.
- Allow the thermostat to connect to Wi-Fi. This process may take a few seconds.
- Test the connection by checking if the thermostat appears as connected in the Google Home app.
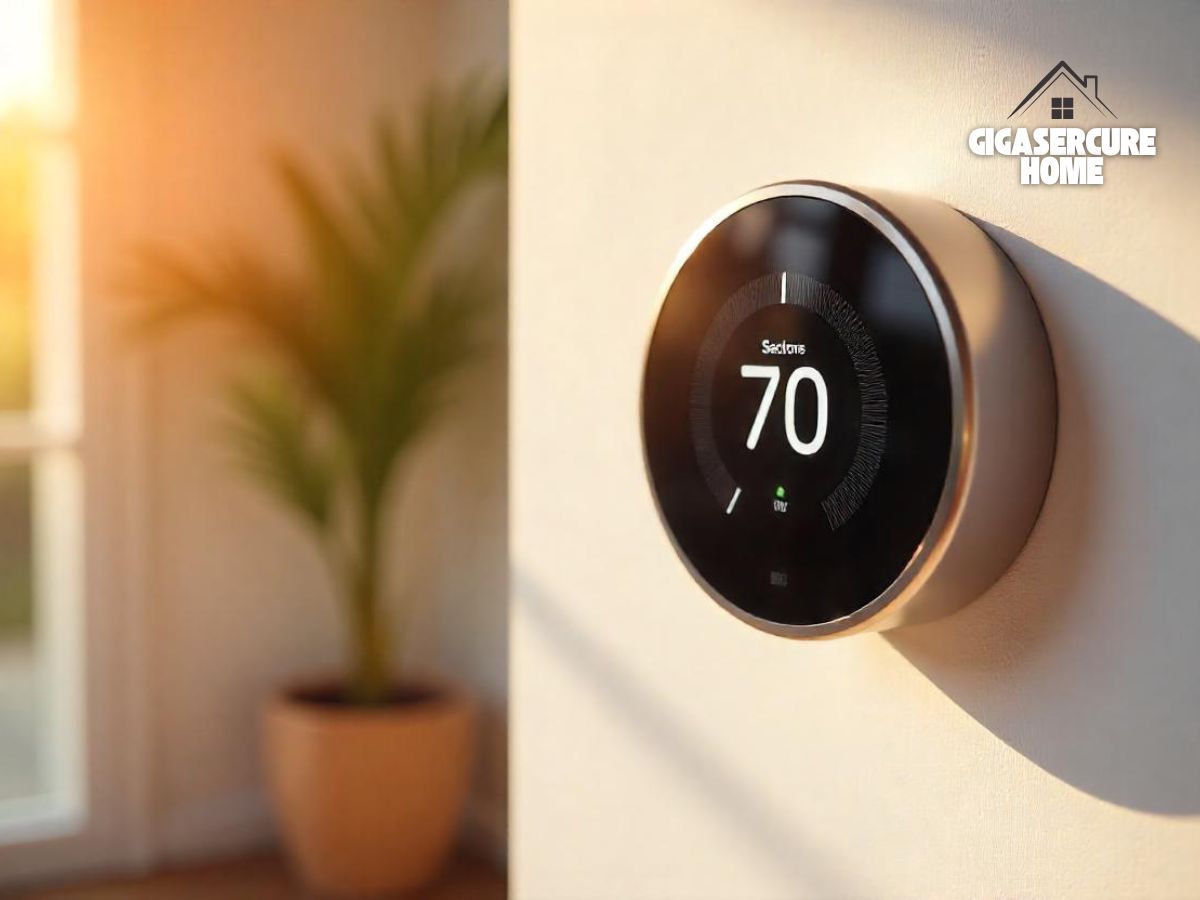
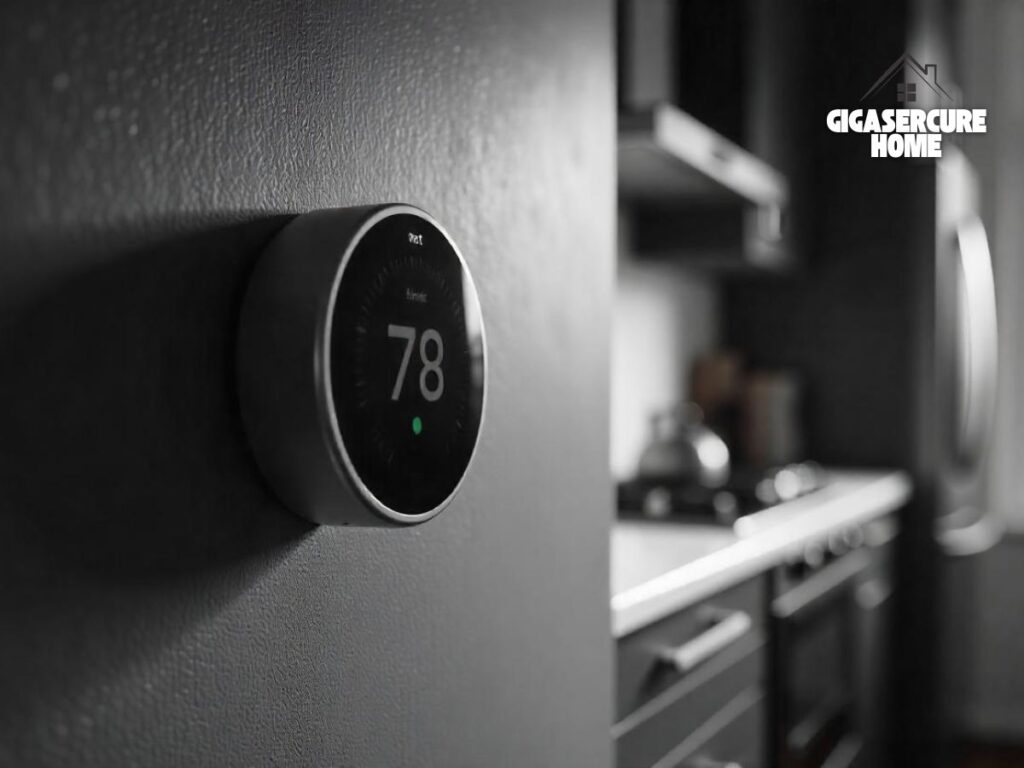
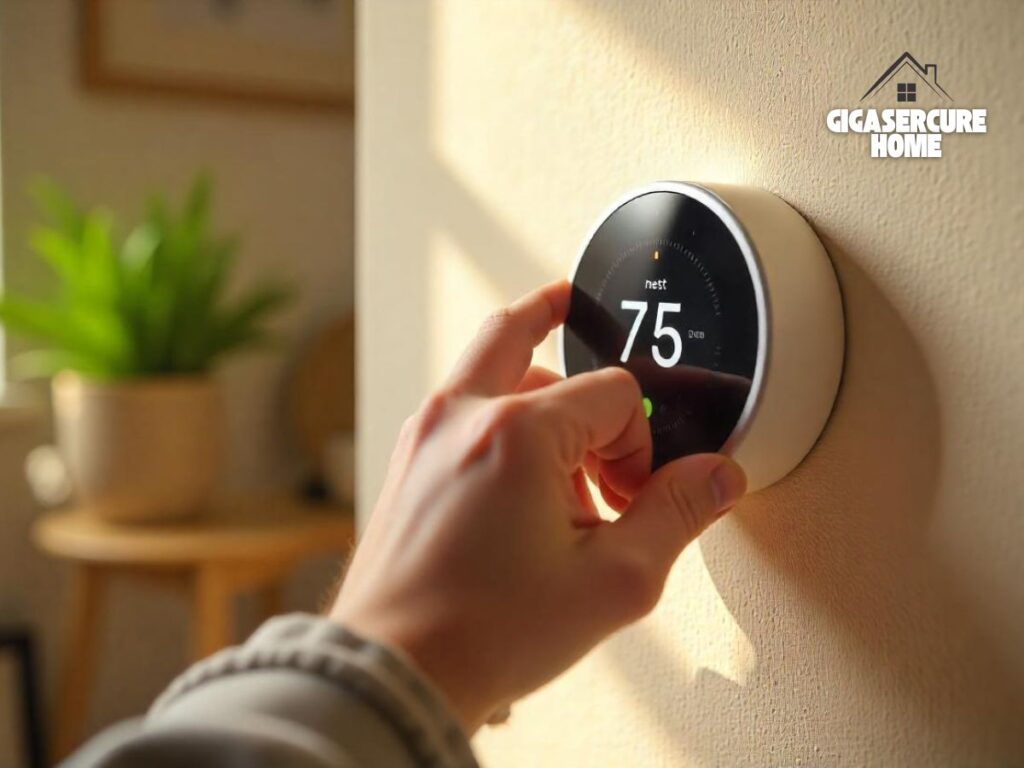
5. Customizing Settings
Once connected, you can customize settings to suit your preferences. Here’s how to do it:
- Temperature Preferences: Set your preferred heating and cooling temperatures.
- Schedule Setup: Schedule the thermostat to adjust based on your daily routine.
- Home/Away Mode: Enable this to automatically adjust the temperature when you leave or return home.
- Eco Mode: Use this to save energy when you’re away.
How do I set Google Nest to heat?
Setting your Google Nest thermostat to “heat” mode is easy and can be done directly on the thermostat itself or through the Google Home app.
Here’s a step-by-step guide:
Method 1: Setting Heat Mode Directly on the Nest Thermostat
- Wake up the thermostat by pressing the Nest ring.
- Open the main menu by pressing the thermostat ring.
- Navigate to “Mode” by turning the ring until you see “Mode” highlighted. Press the ring to select it.
- Select “Heat” by turning the ring until “Heat” is highlighted, and then press the ring to confirm.
- Once you’ve selected “Heat,” the thermostat will control your home’s heating system to maintain your set temperature.
Method 2: Setting Heat Mode through the Google Home App
- Open the Google Home app on your smartphone.
- Tap on your Nest thermostat from the list of devices.
- Tap on “Mode” to open the temperature modes.
- Select “Heat” to activate the heating mode.
- The Nest thermostat will now follow your set temperature schedule or your set temperature if you manually adjust it in “Heat” mode.
- Sometimes, Nest thermostats encounter Wi-Fi connectivity problems. Here’s how to troubleshoot them.
Related Article: Why Does My Google Home Keep Disconnecting?
Common Connection Issues and Fixes of Google Nest Thermostat
Here are some common connection issues and fixes you may encounter if you are new to setting up the thermostat:
Wi-Fi Network Not Found: Make sure your Wi-Fi is enabled and working on other devices. Try moving the router closer to the thermostat if possible.
Incorrect Wi-Fi Password: Double-check the Wi-Fi password in the app. Consider forgetting the network and reconnecting by entering the password again.
Restart Your Router and Thermostat: Unplug your router, wait 10 seconds, and plug it back in. Restart your Nest thermostat by pressing the display until it shuts off and turns back on.
Update Firmware: Ensure your Google Nest thermostat has the latest firmware updates, which can help resolve connection issues. This can be done through the Google Home app when the thermostat is online Giga Secure.
Factory Reset the Thermostat: Go to Settings > Reset > Factory Reset on the thermostat display. Reconnect to Wi-Fi and reconfigure in the Google Home app. Avoid crowded Wi-Fi channels by switching your router settings to a less-used channel.
Use a 2.4 GHz band if available, as it has a longer range and might work better for the thermostat.
Related Article: Is Home Assistant Worth It?
How Can I Save Energy with My Google Nest Thermostat?
You can save energy with your Google Nest Thermostat by enabling features designed to optimize heating and cooling.
Start by setting Eco Temperatures, which automatically adjusts your thermostat to energy-efficient levels when you’re away. It reduces unnecessary heating and cooling.
Activating the Auto-Schedule feature allows your Nest to learn your daily preferences and create a personalized temperature schedule that balances comfort and efficiency.
Additionally, you can set up Home/Away Assist to switch to Eco mode when no one is home. Simple adjustments, like lowering the temperature slightly in winter and raising it in summer, further enhance savings.
Explore Also:
Creativehouseblog
Dietsheriff
Mycleanseplan
FAQs Of How to Set Up Your Google Nest Thermostat
Is It Safe to Install the Nest Thermostat Myself?
Yes, Google Nest thermostats are designed for DIY installation. It’s important to turn off the power at the circuit breaker before beginning any work with the wiring. If you’re unfamiliar with thermostat wiring, consult a licensed technician for assistance.
Can I Install the Google Nest Thermostat with Any HVAC System?
The Google Nest thermostat works with most HVAC systems but not all. It supports systems with standard wiring setups but may not be compatible with certain high-voltage systems. Check the compatibility on Google’s website or consult a professional if you’re unsure.
Can I Control the Nest Thermostat Remotely?
Yes, as long as your thermostat is connected to Wi-Fi, you can control it from anywhere using the Google Home app on your smartphone. This is especially convenient for adjusting temperatures when you’re away.
Does the Nest Thermostat Automatically Adjust to My Schedule?
Yes, some models, like the Google Nest Learning Thermostat, have a learning feature that can automatically adjust based on your usage patterns and preferences. This feature can be turned on or off in the app settings.
Can I Use the Nest Thermostat Without Wi-Fi?
Yes, the Nest thermostat can work without Wi-Fi, but you won’t be able to control it remotely or receive updates. You’ll need Wi-Fi for initial setup and to access most of the smart features.