Nest Doorbell No Blue Light: Causes and Fixes
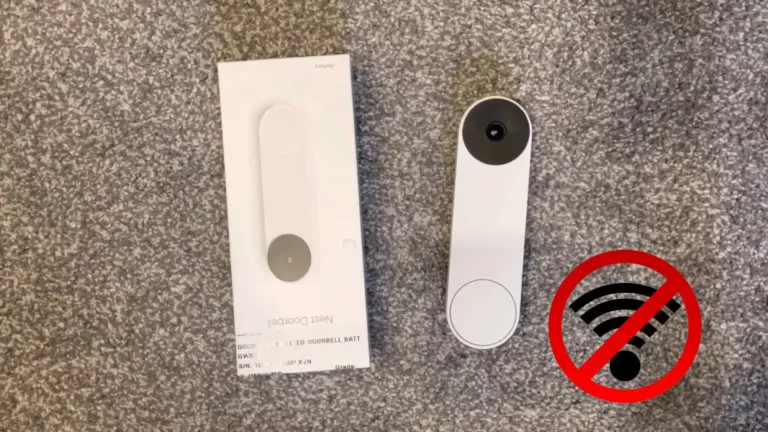
Nest doorbells provide an innovative upgrade to home security by providing a variety of helpful functions. The blue light signifies that the doorbell is working just fine. But what if the blue light is not working? It also means that the doorbell is not working.
Don’t be concerned. You can check the power supply and Wi-Fi connection, and then restart the setup procedure to fix it.
This article will go over the causes and fixes to this nest doorbell no blue light issue in depth.
Key Takeaway
What is Google Nest Doorbell?
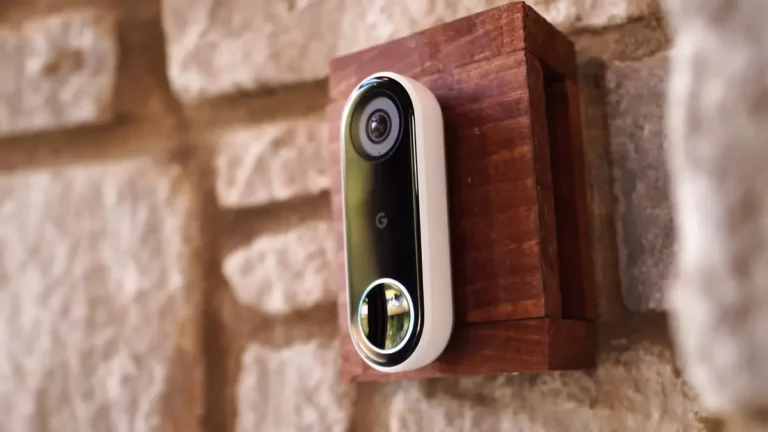
Nest, a subsidiary of the parent company of Google has launched Nest smart doorbells with built-in intelligence. It can distinguish between a person, package, animal, and car and give you an alert to your phone. It has a camera that can record continuous live HD video with HDR and night vision.
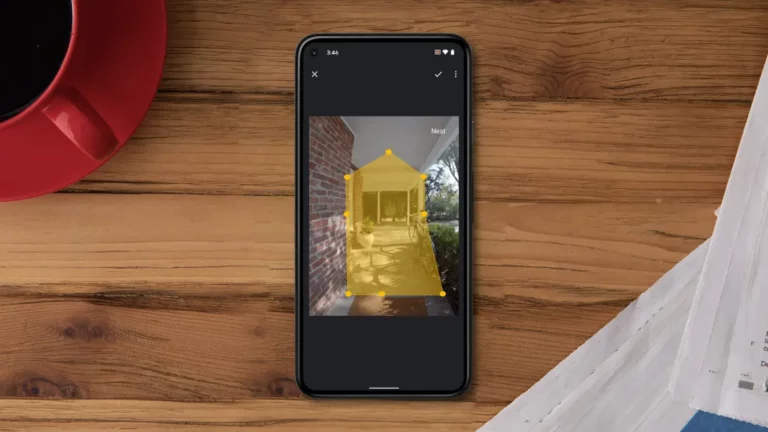
These doorbells are available with a wired or battery system. Both wired and wireless systems are simple to set up. It has built in microphone and speaker. So, you can use the Google Home app to chat to and listen to guests at your door while you’re gone.
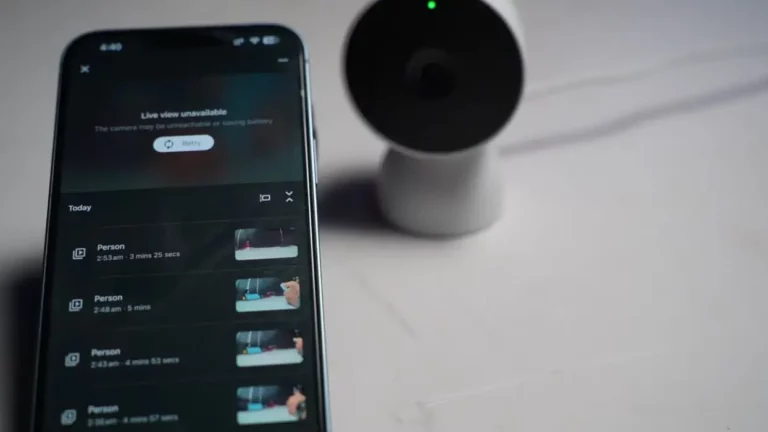
If your Wi-Fi or electricity goes out, the Nest Doorbell will save up to an hour of recorded data for you to find out what you missed.
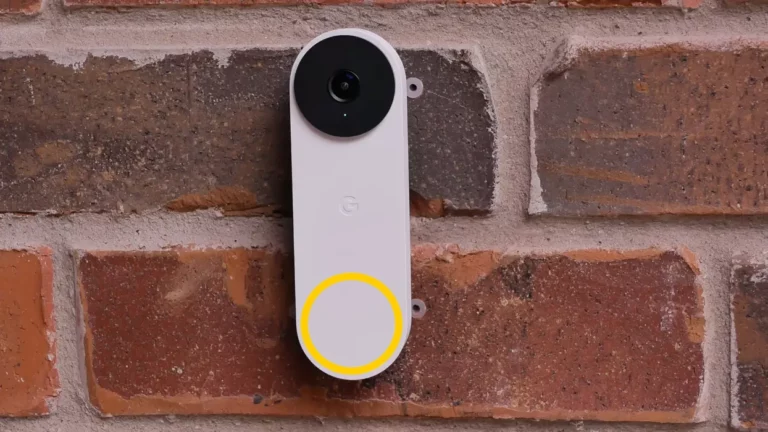
What Does Blue Light Means on Nest Doorbell?
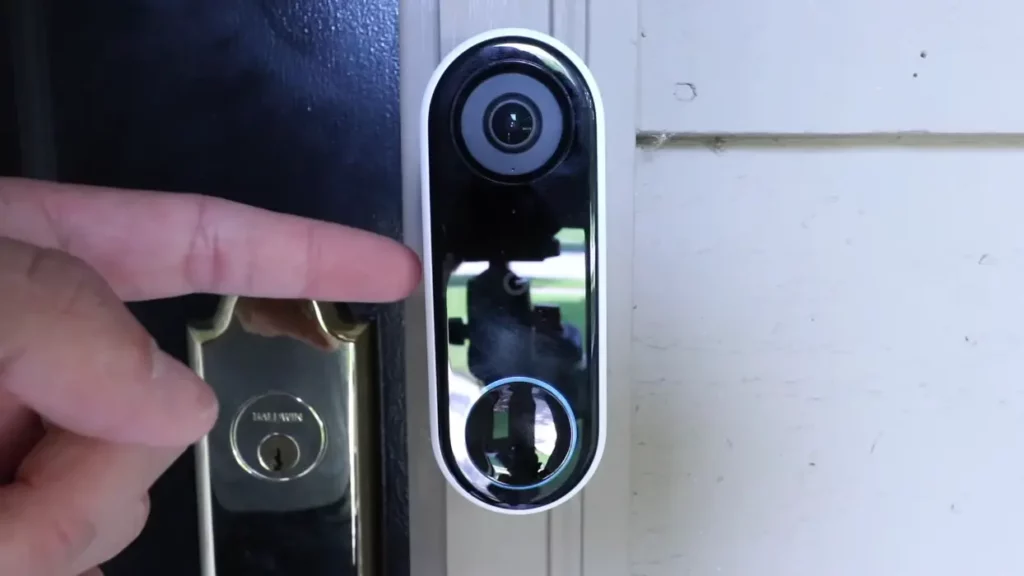
The Google Nest doorbell lights show what is going on or if there is a problem. Each design and color combination has a different meaning. Nest Doorbells have two different lights – one small status light and one large light ring.
Depending on the model, the blue light on status and ring light can indicate variety of signals. A steady blue light on the Nest Doorbell generally signifies that the device is active and is prepared to connect to the network.
During the setup of the battery system doorbells, the blue light is displayed on the small status light. When the doorbell is ready to connect, the status light will turn blue. When attempting to connect to the app and Wi-Fi network, the status light will pulse somewhat quicker.
When the doorbell restarts and is not already linked to the app and Wi-Fi network, the status light will turn blue to indicate that it is ready to connect.
When you set up the wired doorbells, the ring light turns blue to indicate that it is ready for you to enter information into the app. The light ring spins blue when Nest is analyzing data and forming the link between the app and your doorbell.
In everyday use, the ring light on the wired doorbells spins blue to show that someone has hit the doorbell switch and it is waiting for someone to answer.
For more details about the lights on Nest doorbells, go to Google Nest Help.
Related Post: Nest Doorbell Stuck Zoomed In: Causes and Fix
Nest Doorbell No Blue Light: Troubleshooting
During the setup of the Nest smart doorbell, a blue light appears to indicate that the doorbell is ready to connect. If the blue light does not appear, it means that the Google Nest Doorbell is offline. This problem usually occurs after restarting or resetting the doorbell.
To identify as well as solve the problem, you might go through a number of troubleshooting procedures. Here’s a step-by-step procedure:
1. Check the Power source:
Ensure that the doorbell has enough power source. A power failure can hinder the blue light from displaying. If your Nest Doorbell is wired, make sure the wiring is in good condition and correctly connected. Check that the battery is correctly installed and charged in battery-powered devices.
2. Check the Wi-Fi connection:
Check that the Nest Doorbell is linked to the Wi-Fi network. The blue light may not display if there are Wi-Fi connection problems. Check the Nest app’s Wi-Fi settings to make sure that the doorbell has a steady and powerful connection.
3. Restart or reboot:
You can also restart or reboot the Nest Doorbell. This can occasionally address short-term problems. This may be done using the Nest app or by unplugging and re-connecting the electricity supply. If simple restart doesn’t help, try performing a factory reset.
4. Internal Battery Failure:
Internal battery failure can occasionally cause the blue light issue. In this scenario, you may need to replace the battery yourself or hire a professional. If it’s under warranty, then contact the Nest Support.
5. Software Update Issues:
The blue light may be missed during a firmware or software upgrade. Software updates are necessary for enhancing speed and correcting issues, but they might temporarily alter blue light behavior. Check to see if your doorbell has the most recent upgrades and is functioning properly.
6. LED Issues:
If the indicator light doesn’t work, the blue light may not be displayed appropriately. This might be a hardware issue, in which case you should contact Nest support for assistance.
7. Check the Nest App Settings:
Verify the Nest app’s settings to confirm that the doorbell is properly setup. Check that any unique features or settings associated with the LED indicator lights are set up correctly.
8. Perform Factory Reset:
If none of the above methods work, you can do a factory reset on the Doorbell. Keep in mind that this will clear all settings and require you to start over. For details on how to execute a factory reset, consult the user manual or a Nest support article.
If the nest doorbell no power issue remains after doing the above methods, contact Nest support for more assistance. They can offer specialized advice based on your device’s present state.
Related Post: Nest Doorbell Not Sending Notifications: What are the Solutions?
How to Factory Reset Nest Doorbell?
Battery-system Doorbell:
Locate the reset pin hole on the back of the doorbell, just below the USB port. Insert a pin or paperclip and keep it in place for ten seconds. The status light will flash yellow four times, followed by a countdown tone.
The status indicator will turn solid yellow at 12 seconds while the doorbell initiates the factory reset and you will hear a confirmation tone. Remove the button. Your doorbell will be reset to factory defaults.
After the factory reset, your doorbell will display in the app as “Offline” until you remove it. To delete it from the app, launch it and select Settings – Remove device – Confirm.
Wired Doorbell:
Unplug the doorbell from its mounting point first, then place the pin into the slot at the bottom of your doorbell. Take out the cables that are attached to the rear of your camera.
For 10 seconds, hold down the reset pin on the rear. Hold down the large doorbell button on the front at the same time. Your doorbell will ring, and the light ring will begin spinning blue, and then flash yellow, before turning off completely. Release both buttons.
When your camera whistles and the light ring begins softly rotating blue, the factory reset is complete. To remove it from the app, follow the same steps as with the battery doorbell.
Watch this video on how to reset Nest Smart Doorbells – https://youtu.be/k-wjDTmZsJ0?si=UC-uACvNvo8kDUG6
Frequently Asked Questions [FAQs]
What does the Nest Doorbell no blue light mean?
– Typically, the blue light means regular activity and ability. So, no blue light means no power.
What should I do if the nest doorbell stopped working?
– If the blue light does not appear after a factory reset, check the power supply and Wi-Fi connection, and then restart the setup procedure.
Is it possible to make a factory reset without using the Nest app?
– No, the Nest app is normally used to start the factory reset procedure for Nest Doorbells.
Related Post: Nest Doorbell Stuck Zoomed In: Causes and Fix